CockroachDB 22.1 is here, and with it comes a highly-requested feature: a REST API that allows you to access and manage your clusters programmatically, rather than having to navigate the web UI.
Want to automate your database ops? Let’s get started!
Prerequisites
To use the CockroachDB Cloud API, you’ll need to have a CockroachDB cloud account set up. If you don’t have one already, you can sign up for one here – it’s free, and you use Github to sign up if you don’t want to keep track of another username and password.
How to use the CockroachDB Cloud API
If you want to jump right into it, here’s the link to the docs page: Cloud API Documentation. Or, you can stick around here and we’ll walk through how to get started with the API.
Getting your secret key
The CockroachDB Cloud API uses bearer token authentication, meaning that each request you send must include a secret key that determines the account access and permissions you have.
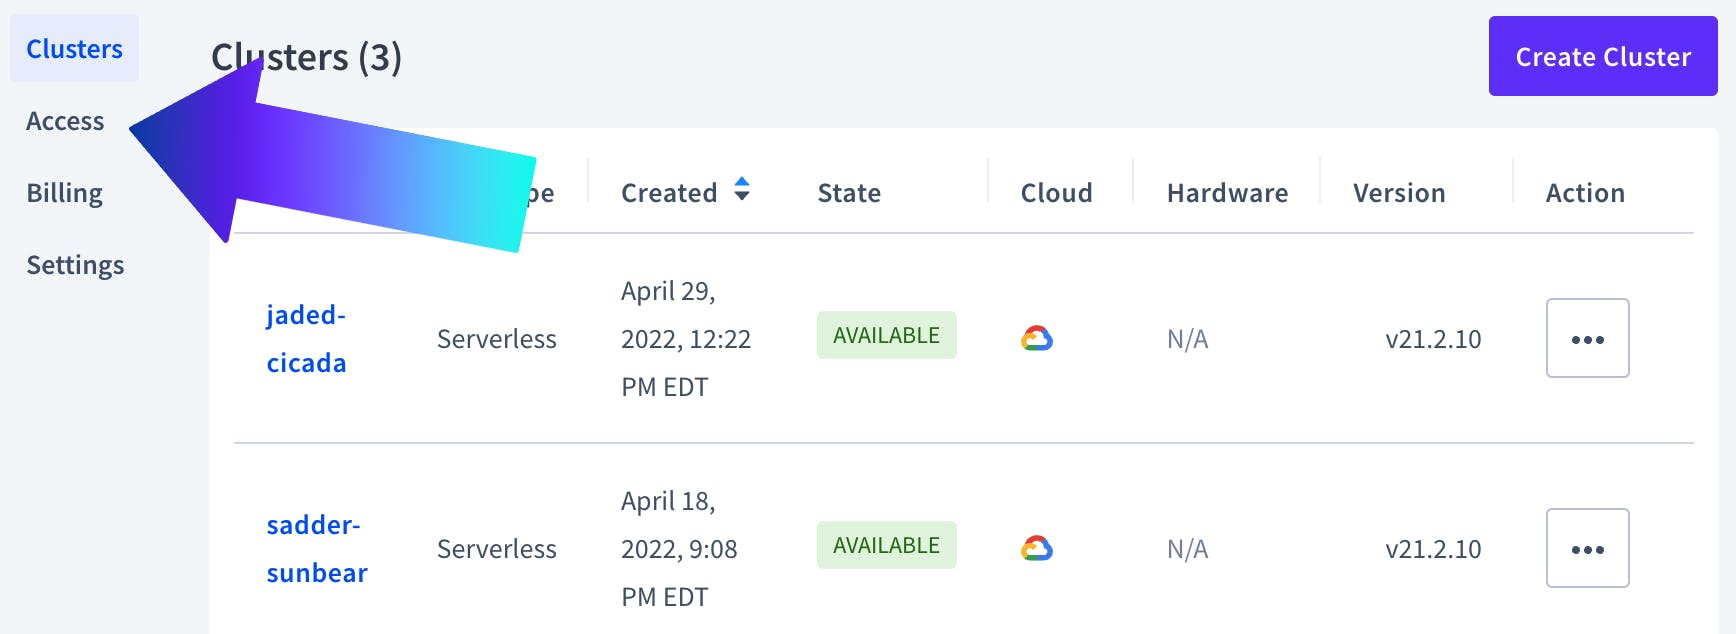
To get a secret key, log into your CockroachDB Cloud account and visit the clusters page – don’t worry, I promise this is the last time we’ll have to use the web UI!
Click “Access” in the left-hand navigation:
Then click the Service Accounts tab on the Access page that loads:
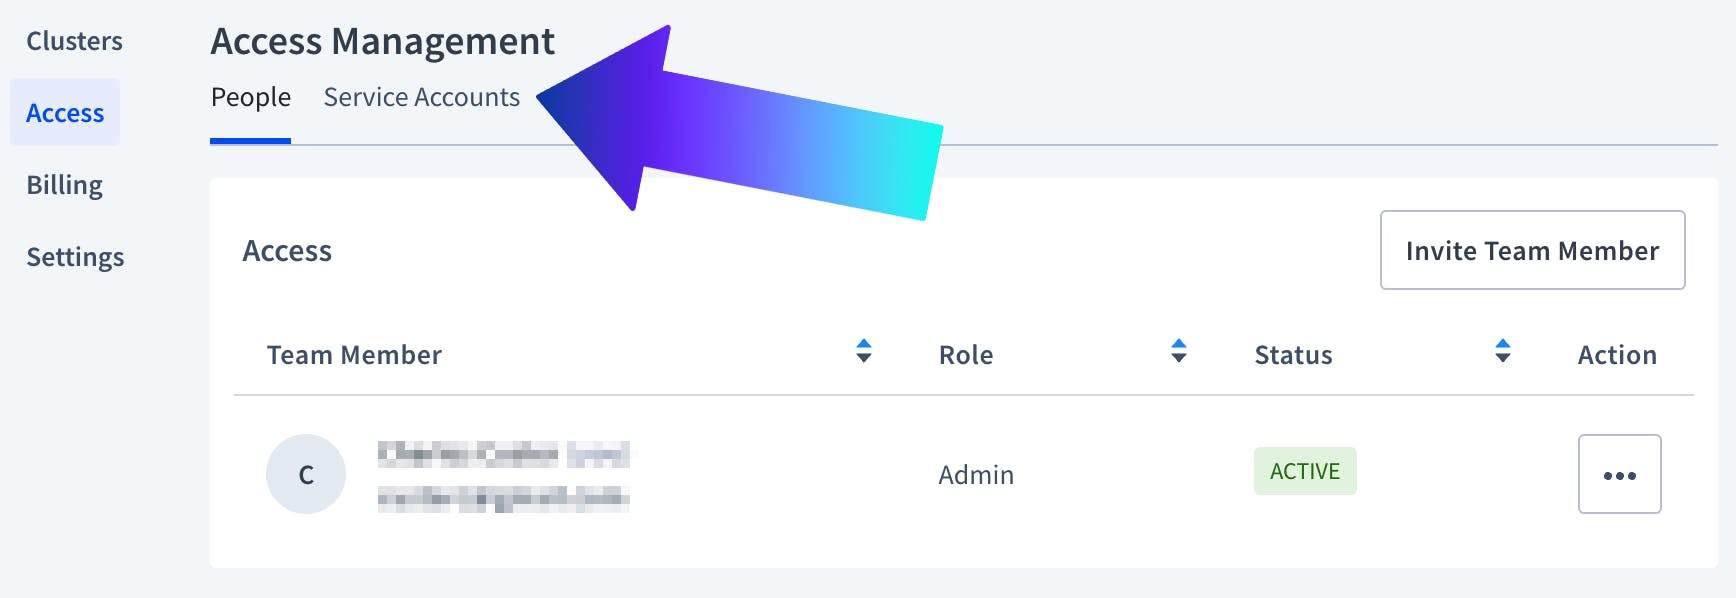
Then click on “Create Service Account”:
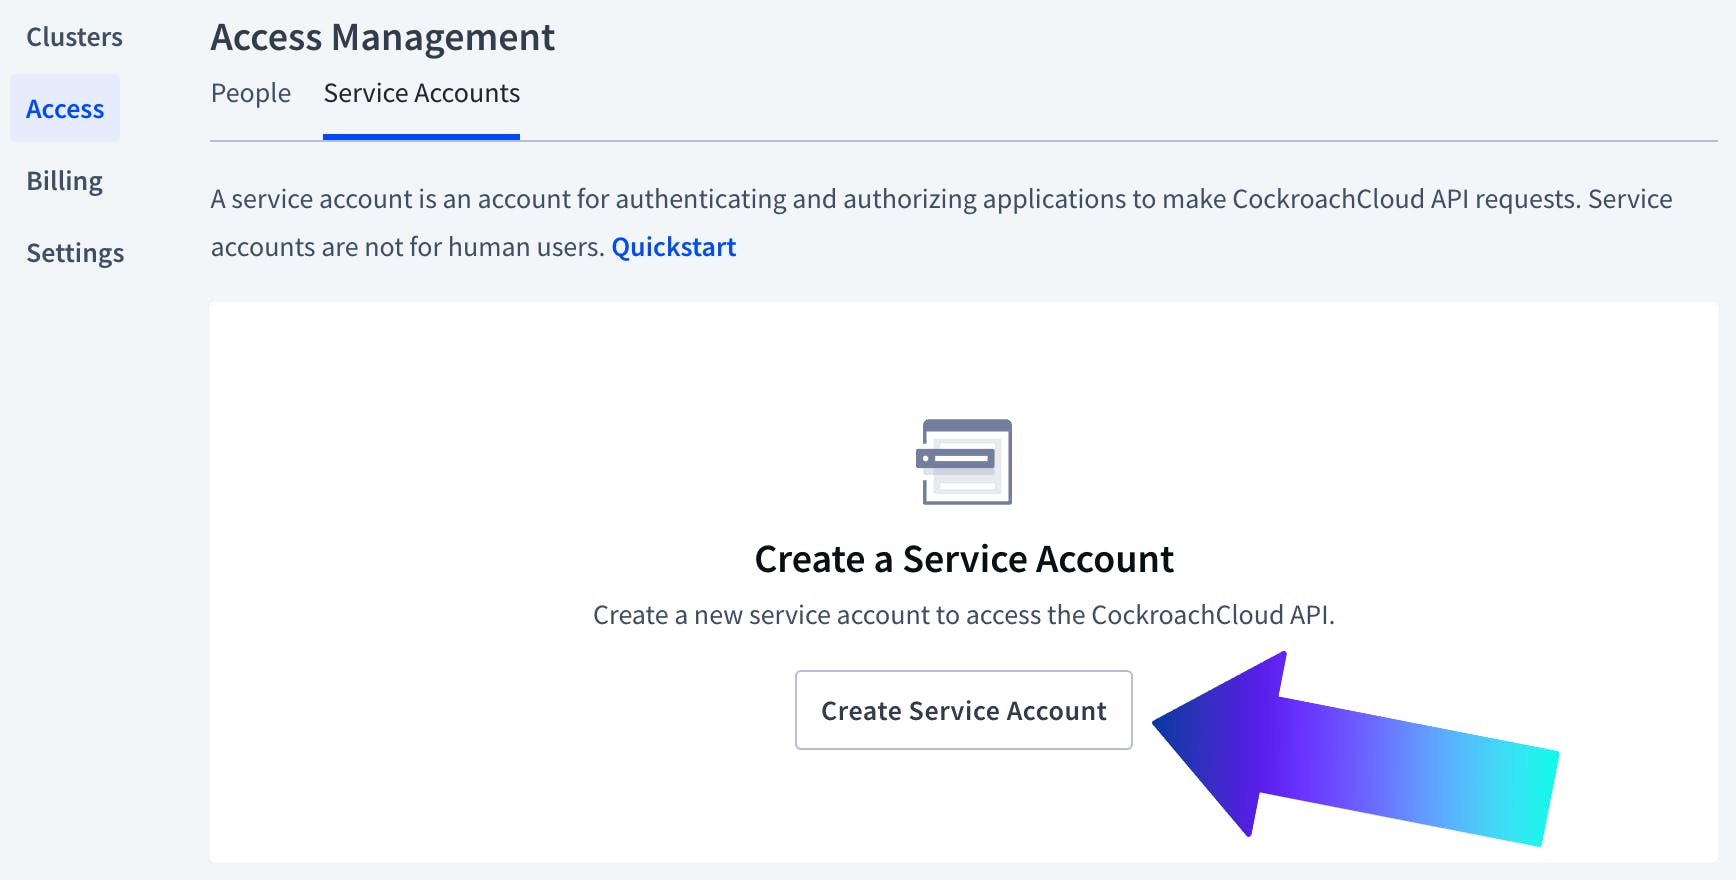
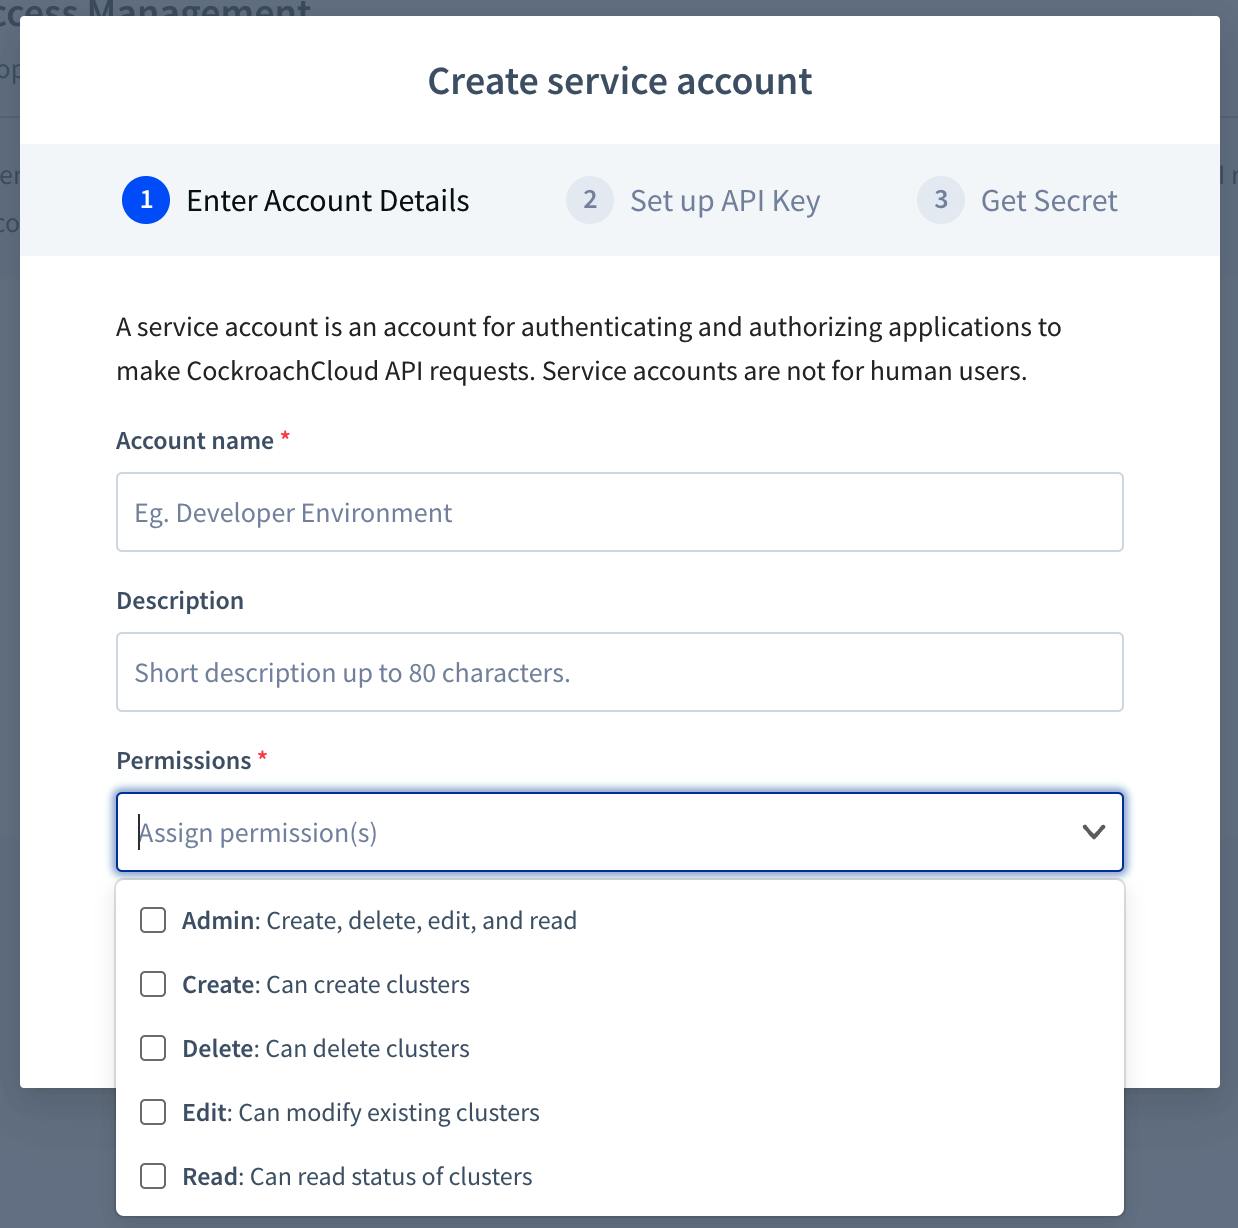
That will open a window that prompts you to name your service account, and set its permissions level. Note that the API features you’ll be able to use will be limited by this permissions level, so (for example) a service account with “Read” permissions will not be able to create, delete, or edit clusters via the API.
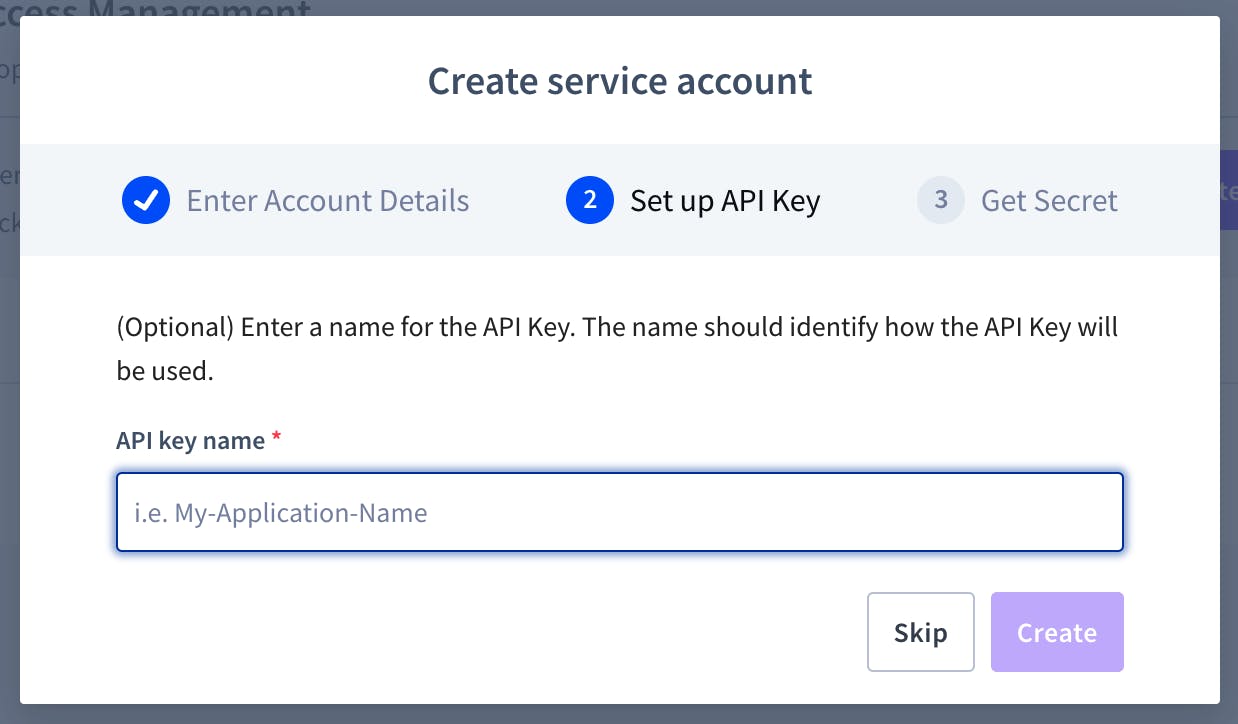
You’ll also be prompted to give your API key a name:
When you hit “Create”, a final window will appear with your secret key. Note this somewhere safe – it will be provided only once – and don’t share it with anyone, as this is what will allow the API to access and manage our clusters.
Once we’ve got our secret key, we can close the browser. From now on, we won’t be needing any web UI to manage our clusters!
List all clusters
Here’s what a basic API call looks like using the CockroachDB Cloud API:
curl --request GET \
  --url 'https://cockroachlabs.cloud/api/v1/clusters' \
  --header 'Authorization: Bearer {secret_key}'
Note that in the above, {secret_key} should be replaced with your secret key.
If you submit this request and it returns an error but you’re sure you’ve set up your service account properly, you’ve probably accidentally included the { } brackets, or forgotten to include the ' at the end of the string. The correct format for the header should look something like this (although this is not a real secret key):
--header 'Authorization: Bearer B81649_8F7D11A_92BCE13_56782D_C53'
When we submit this request, the API will return information about each of the clusters associated with our account. This includes each cluster’s unique cluster ID, which we’ll need to make requests about a specific cluster.
Now let’s get into actually doing ops work using the Cloud API
Creating a new cluster
To create a new cluster, all we need to do is submit a request that includes the parameters of the cluster we’d like to create:
curl --request POST \
  --url https://cockroachlabs.cloud/api/v1/clusters \
  --header 'Authorization: Bearer {secret_key}' \
  --data '{"name":"notorious-moose","provider":"GCP","spec":{"serverless":{"regions":["us-central1"],"spendLimit":0}}}'
In the above example, we’re creating a cluster called notorious-moose on GCP. It’s a serverless cluster in GCP’s us-central1 region, and we’ve set the resource limit to $0.00. When this request is submitted, the API will create the new cluster and return information about it, including its unique cluster ID (which we can then use in other API requests to perform actions specifically on this cluster).
One important note here is that the spend_limit is the maximum amount of money you want to spend on this cluster, per month, in US cents. So, for example, putting spendLimit":100 in your request sets the cluster’s monthly resource limit to US$1.
(To create a cluster with a resource limit, you’ll need to have credit card information associated with your CockroachDB Cloud account. However, you can create free serverless clusters without having to enter any credit card information).
Getting info about a cluster and its nodes
With a cluster ID, we can use the API to return information about a specific cluster like so:
curl --request GET \
  --url https://cockroachlabs.cloud/api/v1/clusters/{cluster_id} \
  --header 'Authorization: Bearer {secret_key}'
In the above request, {cluster_id} and {secret_key} must be replaced with the specific cluster ID we want information about and our secret key.
This request will return a variety of metadata related to our cluster, including the creation date, cloud provider and region(s), serverless resource limit (where applicable), etc.
We can also add /nodes after {cluster_id} in that request to get information about a cluster’s nodes like so:
curl --request GET \
  --url https://cockroachlabs.cloud/api/v1/clusters/{cluster_id}/nodes \
  --header 'Authorization: Bearer {secret_key}'
Among other things, this will return a status of LIVE or NOT READY, allowing us to see whether a node is available or has gone down.
Change the serverless resource limit
Changing the resource limit for a cluster works similarly. We just need to submit a request that specifies the cluster and the new resource limit:
curl --request PUT \
  --url https://cockroachlabs.cloud/api/v1/clusters/{cluster_id}/spend-limit \
  --header 'Authorization: Bearer {secret_key}' \
  --data '{"spendLimit": {spend_limit}}'
In the above example, we’d replace {spend_limit} with our desired maximum monthly spend in US cents, so for example to set a resource limit of $10/month we would use 1000.
Delete a cluster
Deleting a cluster is very similar to creating one, except that we don’t need to specify any cluster parameters beyond the cluster ID:
curl --request DELETE \
  --url https://cockroachlabs.cloud/api/v1/clusters/{cluster_id} \
  --header 'Authorization: Bearer {secret_key}'
Create and delete SQL users
To create a SQL user, we can submit an API request specifying the new user’s username and password.
curl --request POST \
  --url https://cockroachlabs.cloud/api/v1/clusters/{cluster_id}/sql-users \
  --header 'Authorization: Bearer {secret_key}' \
  --header 'content-type: application/json' \
  --data '{"name":"{example_username{","password":"{example_password}"}'
As in previous examples, {cluster_id}, {secret_key}, {example_username}, and {example_password} must be replaced with the desired values for this request to work.
We can also use the API to delete existing SQL users:
curl --request DELETE \
  --url https://cockroachlabs.cloud/api/v1/clusters/{cluster_id}/sql-users/{username} \
  --header 'Authorization: Bearer {secret_key}'
Do more!
Above, we’ve just showcased a few examples of what the API can do, but it’s capable of quite a bit more. Check out the full documentation for a list of what it can do.
